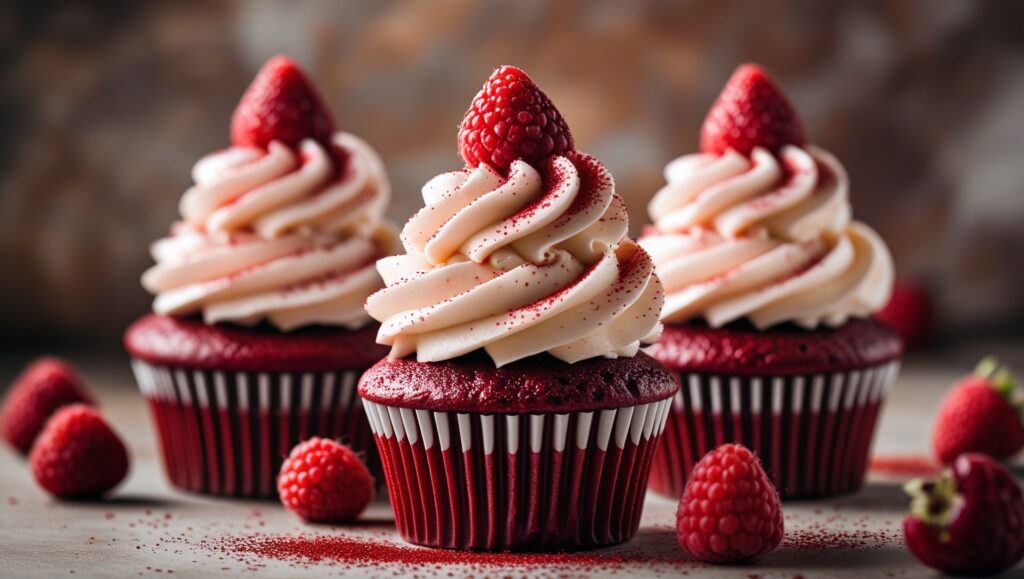
Your Ultimate Guide to Baking Perfect Red Velvet Cupcakes
Hey there, fellow baking enthusiasts and sweet treat aficionados! If you’ve ever dreamed of sinking your teeth into a moist, tender, and vibrantly crimson cupcake topped with a swirl of luscious cream cheese frosting, then you’ve come to the right place. Today, we’re diving deep into the wonderful world of Red Velvet Cupcakes.
This isn’t just your average recipe post, oh no! We’re going to take you on a step-by-step journey, from understanding the magic behind that signature red hue and velvety texture to actually baking a batch of cupcakes that will have everyone begging for more. So, grab your aprons, preheat your ovens (mentally for now!), and let’s get baking!
Why All the Fuss About Red Velvet? (Unlocking the Allure)
Before we get our hands floury, let’s talk about the mystique surrounding the Red Velvet. What makes it so irresistible? It’s more than just a pretty cupcake; it’s a sensory experience.
- The Color: That deep, captivating red is undeniably eye-catching. It evokes feelings of romance, celebration, and a touch of indulgence.
- The Texture: True to its name, a good Red Velvet cupcake should be incredibly moist and have a delicate, almost velvety crumb. This comes from a combination of ingredients we’ll explore later.
- The Flavor: While often described as subtly chocolatey, Red Velvet has a unique tanginess that comes from buttermilk and sometimes a hint of vinegar. This complements the sweetness beautifully and creates a well-balanced flavor profile.
- The Frosting: The classic pairing of tangy cream cheese frosting is the perfect counterpoint to the rich cupcake, adding another layer of deliciousness.
Unveiling the Secret Ingredients (What Makes Red Velvet, Well… Red!)
The signature red color of Red Velvet has a fascinating history. Originally, the reddish hue came from the natural reaction between cocoa powder (which was less processed back then and contained more anthocyanins), acidic ingredients like buttermilk and vinegar, and unsweetened chocolate.
However, as cocoa processing methods changed and the desire for a more vibrant and consistent red grew, food coloring became the standard. While some purists still aim for a naturally tinted cupcake, most modern recipes rely on red food coloring to achieve that iconic look.
Your Step-by-Step Guide to Baking Perfect Red Velvet Cupcakes
Alright, let’s get down to the nitty-gritty – the recipe! We’ve broken it down into easy-to-follow steps, complete with what your baking setup should look like at each stage.
Yields: Approximately 24 cupcakes
Prep time: 25 minutes
Bake time: 18-20 minutes
Ingredients:
For the Cupcakes:
- 2 ½ cups all-purpose flour
- 1 teaspoon baking soda
- 1 teaspoon baking powder
- ½ teaspoon salt
- 2 tablespoons unsweetened cocoa powder
- 1 cup (2 sticks) unsalted butter, softened
- 1 ¾ cups granulated sugar
- 2 large eggs
- 1 teaspoon pure vanilla extract
- 1 cup buttermilk, room temperature
- 1 ounce (2 tablespoons) red food coloring (liquid or gel)
- 1 teaspoon distilled white vinegar
For the Cream Cheese Frosting:
- 8 ounces cream cheese, softened
- ½ cup (1 stick) unsalted butter, softened
- 3-4 cups powdered sugar, sifted
- 1 teaspoon pure vanilla extract
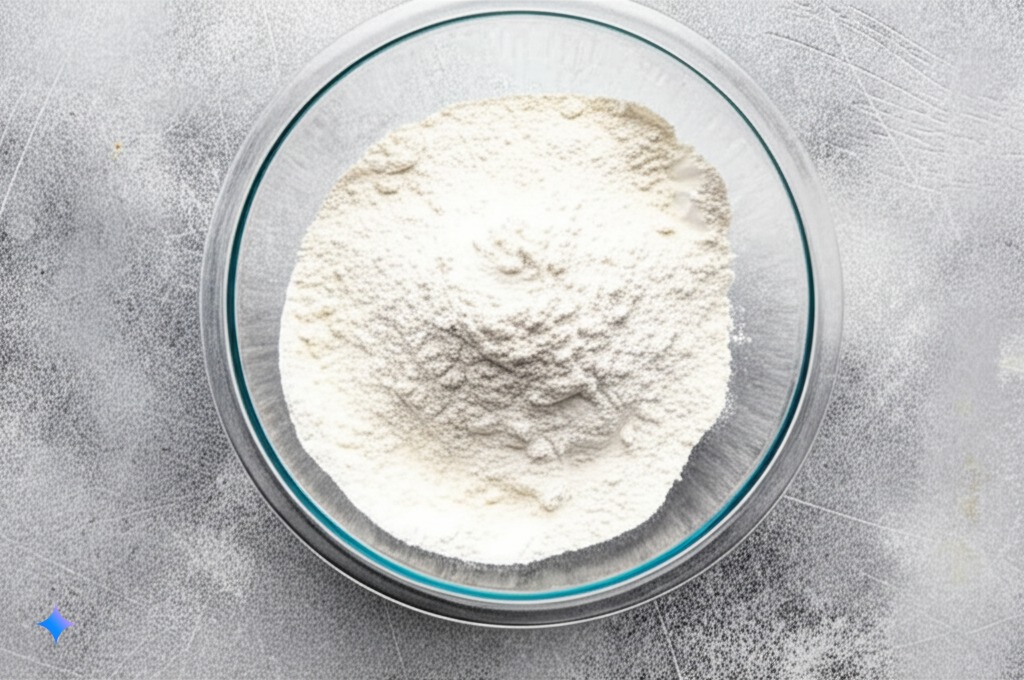
Step 1: Gather Your Dry Ingredients (The Foundation)
In a medium bowl, whisk together the all-purpose flour, baking soda, baking powder, salt, and unsweetened cocoa powder. This ensures that all the leavening agents and cocoa powder are evenly distributed throughout the dry mixture.
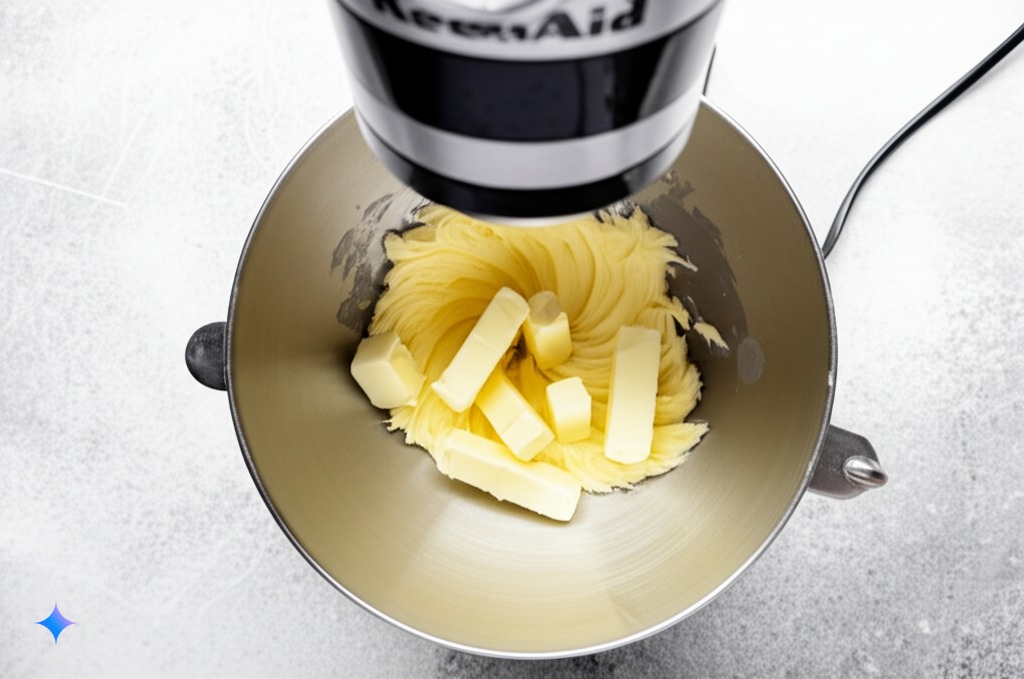
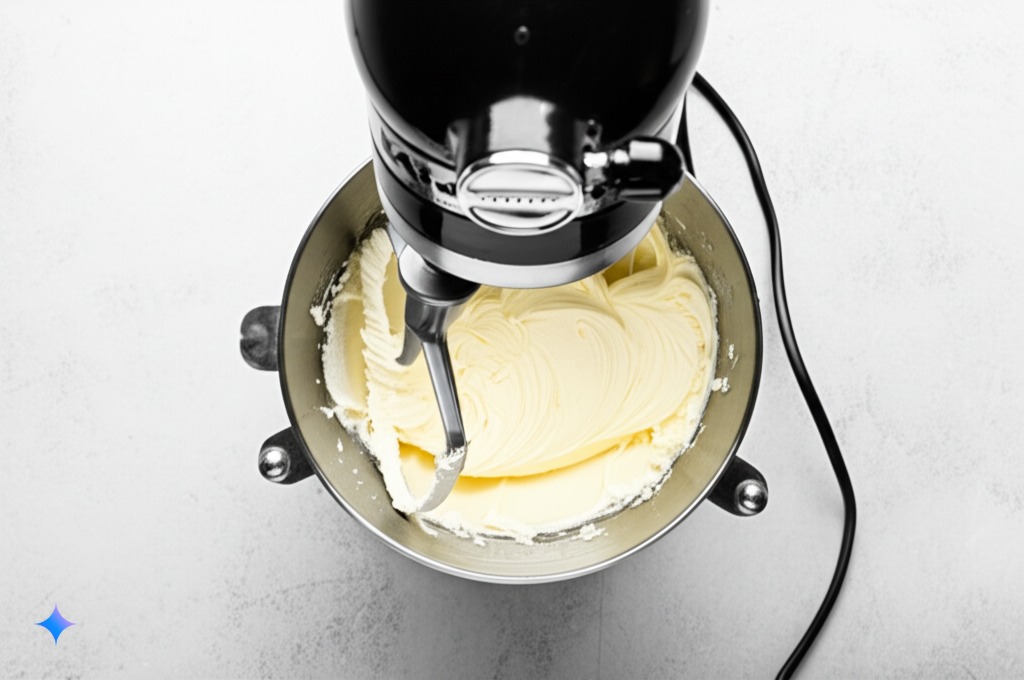
Step 2: Cream Together Butter and Sugar (Creating Airiness)
In a large mixing bowl (or the bowl of a stand mixer fitted with the paddle attachment), beat the softened butter and granulated sugar together on medium speed until light and fluffy. This process incorporates air into the batter, which is crucial for a tender crumb. It should take about 3-5 minutes.
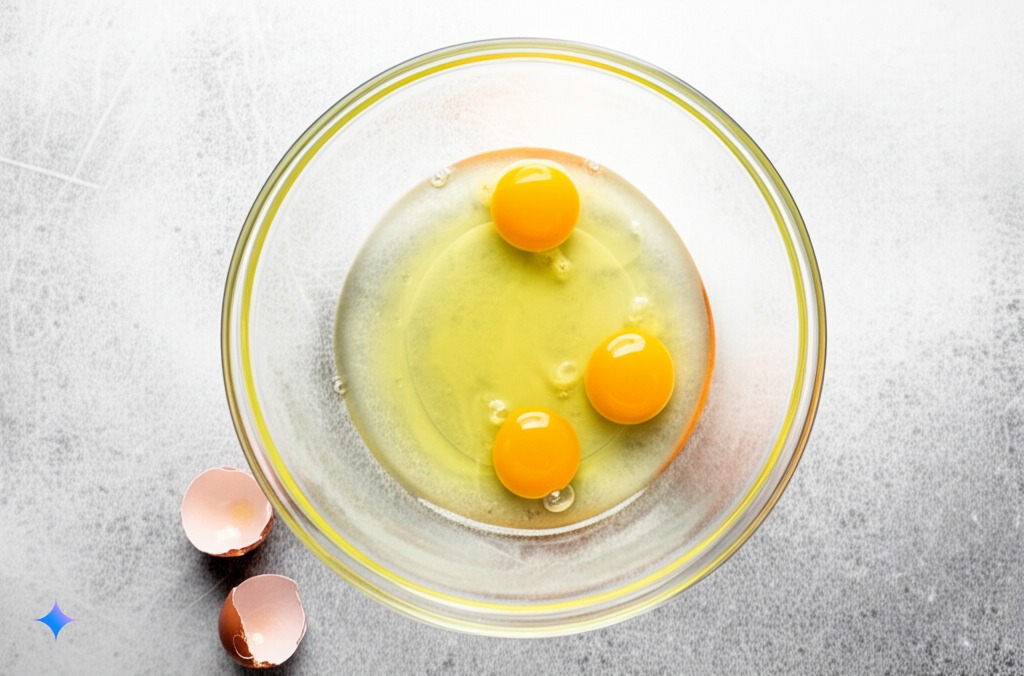
Step 3: Incorporate the Eggs (Adding Structure and Richness)
Beat in the eggs one at a time, making sure each egg is fully incorporated before adding the next. Then, stir in the vanilla extract.
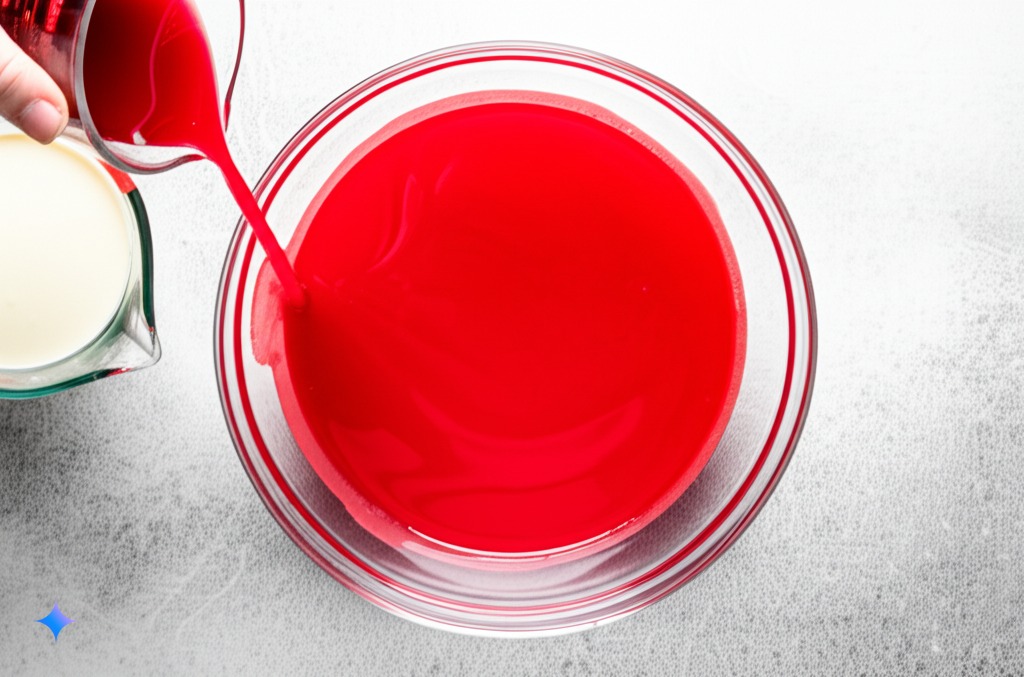
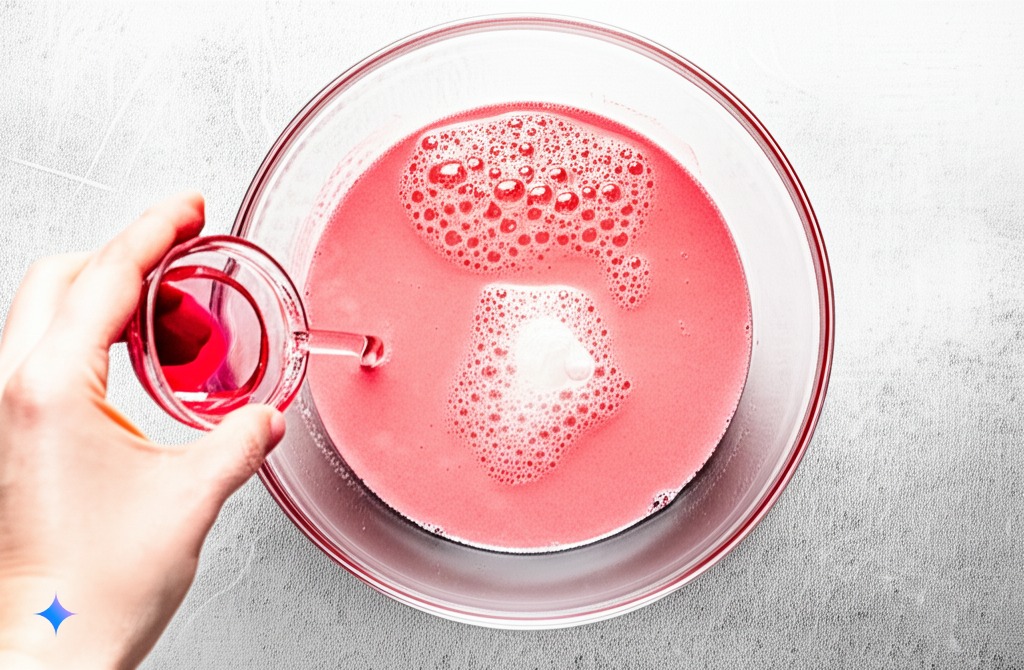
Step 4: The Wet Ingredients (The Magic of Buttermilk and Red)
In a separate small bowl, whisk together the buttermilk and red food coloring until well combined.
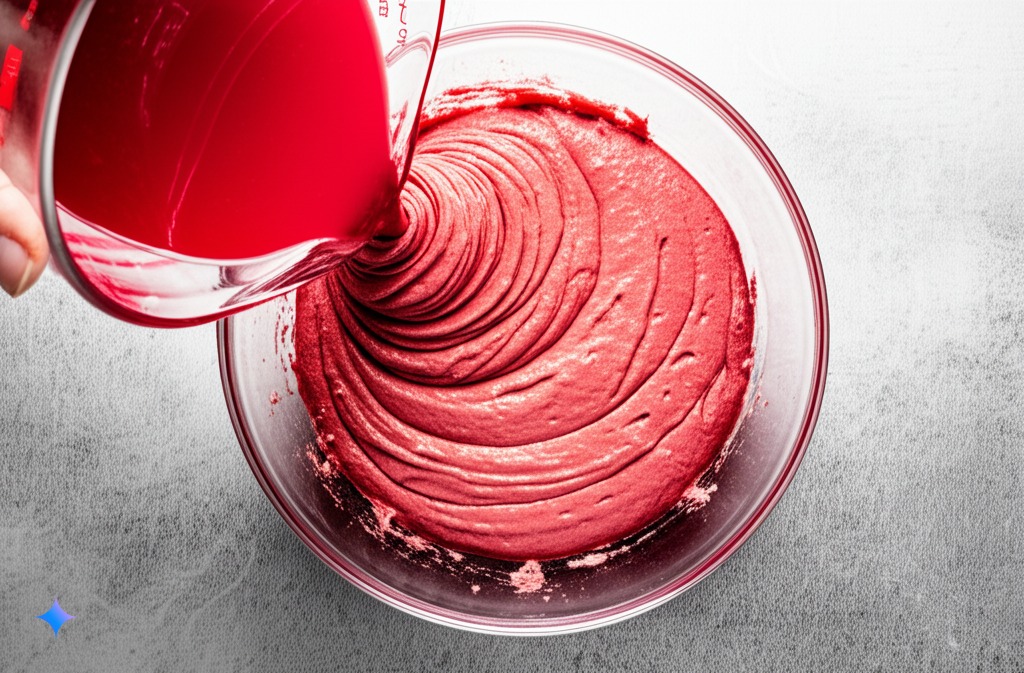
Step 5: Combine Wet and Dry (Creating the Batter)
Gradually add the wet ingredients to the butter-sugar mixture, alternating with the dry ingredients. Begin and end with the dry ingredients. Beat on low speed until just combined. Be careful not to overmix, as this can lead to tough cupcakes.
Step 6: The Secret Reaction (Vinegar and Baking Soda)
In a small bowl, combine the distilled white vinegar and baking soda. The mixture will fizz. Immediately add this to the batter and stir until just combined. This reaction creates carbon dioxide, which helps the cupcakes rise and contributes to the velvety texture.
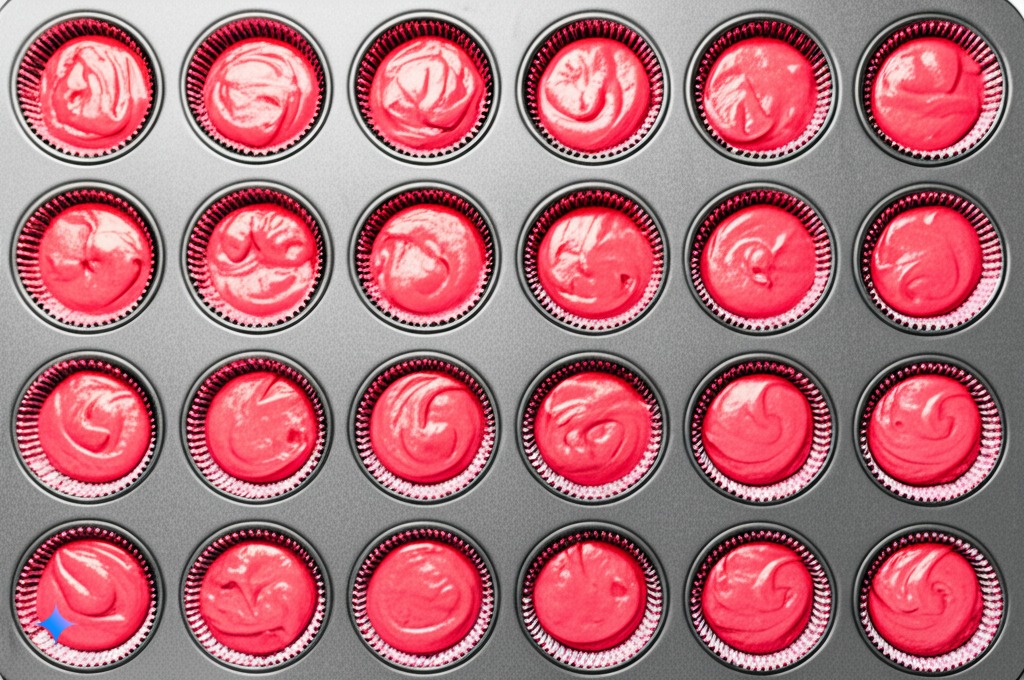
Step 7: Fill the Cupcake Liners (Ready for the Oven)
Line a 12-cup muffin tin with paper liners. Divide the batter evenly among the liners, filling each about two-thirds full.
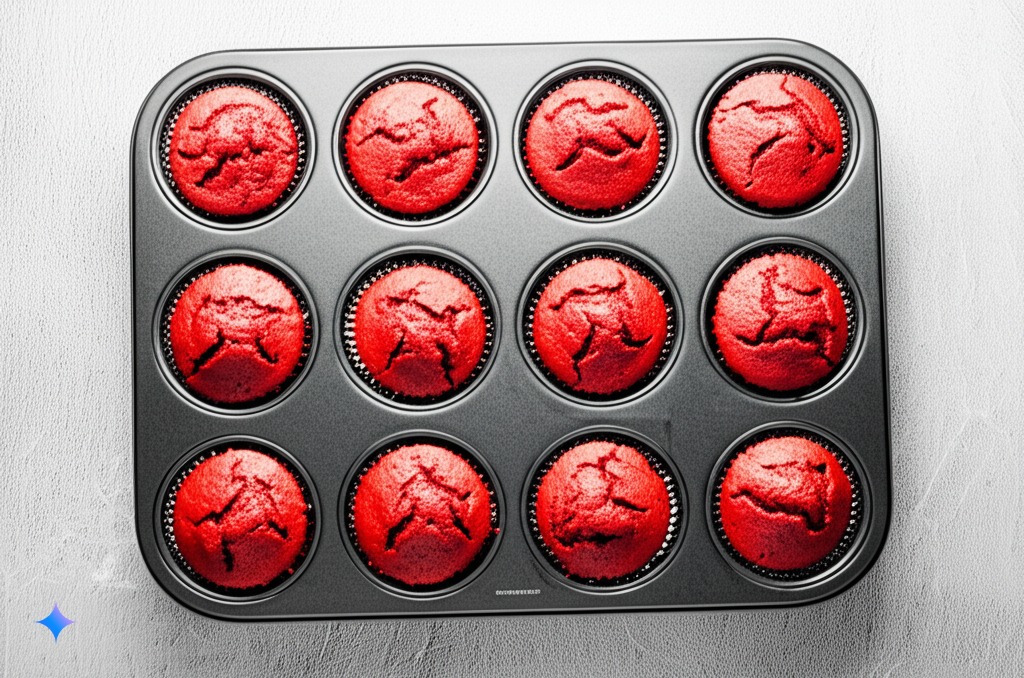
Step 8: Bake to Perfection (The Sweet Aroma)
Bake in a preheated oven at 350°F (175°C) for 18-20 minutes, or until a toothpick inserted into the center comes out clean.
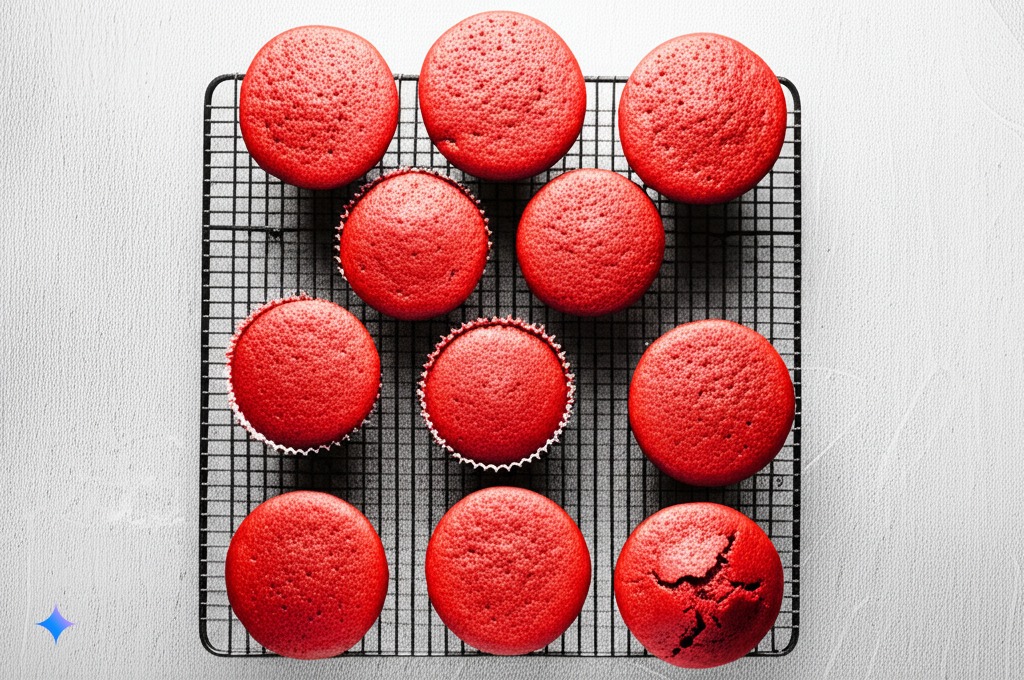
Step 9: Cool Completely (Patience is Key!)
Let the cupcakes cool in the muffin tin for a few minutes before transferring them to a wire rack to cool completely. This is crucial before frosting, as warm cupcakes will melt the frosting.
Step 10: Prepare the Cream Cheese Frosting (The Perfect Partner)
While the cupcakes are cooling, prepare the cream cheese frosting. In a large mixing bowl (or the bowl of a stand mixer fitted with the paddle attachment), beat the softened cream cheese and softened butter together on medium speed until smooth and creamy.
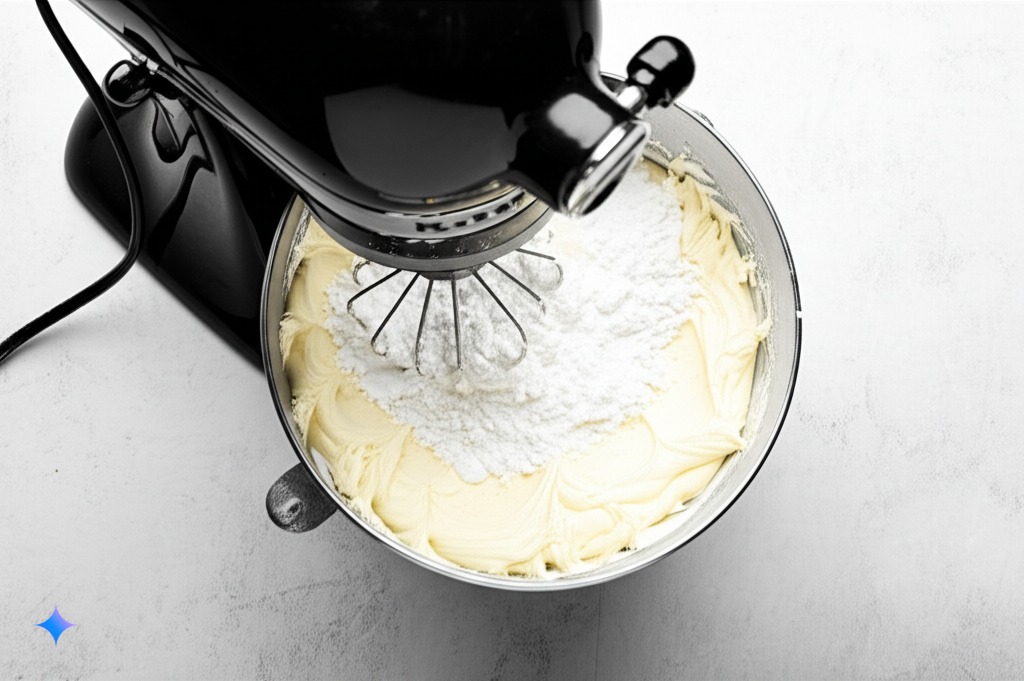
Step 11: Sweeten and Flavor the Frosting (The Finishing Touch)
Gradually add the sifted powdered sugar, one cup at a time, beating on low speed until incorporated. Once all the powdered sugar is added, beat on medium-high speed until light and fluffy. Stir in the vanilla extract. Add more powdered sugar if needed to reach your desired consistency.
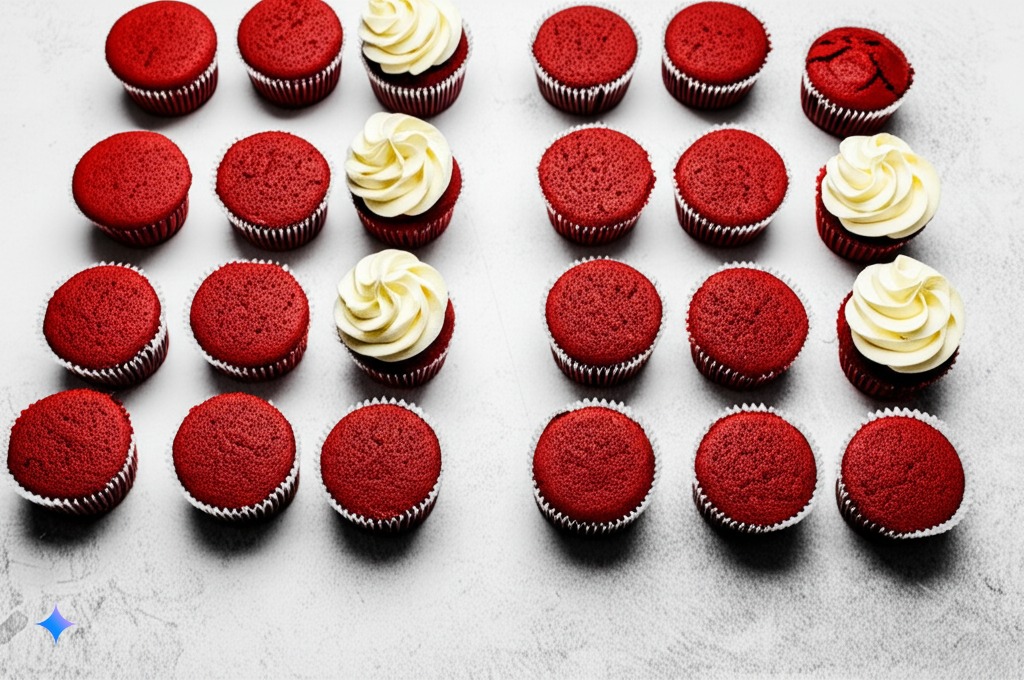
Step 12: Frost and Enjoy! (The Grand Finale)
Once the cupcakes are completely cool, frost them generously with the cream cheese frosting using a piping bag or a knife. Get creative with your frosting swirls!
Tips for Baking the Best Red Velvet Cupcakes (Unlock Your Inner Baker)
Want to take your Red Velvet cupcakes from good to absolutely amazing? Here are a few extra tips and tricks:
- Use Room Temperature Ingredients: This is crucial for proper emulsification, resulting in a smooth and even batter. Make sure your butter, eggs, and buttermilk are at room temperature before you start.
- Don’t Overmix the Batter: Overmixing develops the gluten in the flour, which can lead to tough and chewy cupcakes. Mix until just combined.
- Measure Flour Correctly: The best way to measure flour is by spooning it loosely into your measuring cup and then leveling it off with a straight edge. Avoid scooping directly from the bag, as this can pack the flour down.
- Use Quality Red Food Coloring: The type and quality of red food coloring will affect the vibrancy of your cupcakes. Gel food coloring is often more concentrated and produces a richer color than liquid food coloring.
- Don’t Overbake: Overbaked cupcakes will be dry. Check for doneness using a toothpick, and remove them from the oven as soon as it comes out clean.
- Chill Your Frosting: If your cream cheese frosting seems too soft, chill it in the refrigerator for about 15-20 minutes before frosting the cupcakes.
- Get Creative with Garnishes: While classic Red Velvet cupcakes are beautiful on their own, you can add a touch of elegance with garnishes like white chocolate shavings, chopped nuts, or fresh berries.
Variations and Twists on the Classic (Spice Things Up!)
While the classic Red Velvet cupcake is a winner, there are plenty of ways to put your own spin on this beloved treat:
- Red Velvet Cake: Simply double or triple the recipe and bake in a round or square cake pan. Adjust the baking time accordingly.
- Red Velvet Cookies: Adapt the batter to create chewy and delicious Red Velvet cookies.
- Chocolate Red Velvet: Increase the amount of cocoa powder for a richer chocolate flavor.
- Naturally Colored Red Velvet: Experiment with using beet juice or other natural food colorings, though the color may be less vibrant.
- Different Frosting Flavors: While cream cheese is traditional, try a vanilla buttercream or a tangy sour cream frosting.
Troubleshooting Common Red Velvet Baking Issues (Solving Your Sweet Dilemmas)
Even experienced bakers encounter hiccups sometimes. Here are some common Red Velvet baking issues and how to troubleshoot them:
- Cupcakes are dry: This could be due to overbaking, using too much flour, or not enough liquid. Make sure to measure your ingredients accurately and don’t overbake.
- Cupcakes are dense: This could be caused by overmixing the batter or not enough leavening.
- Frosting is too runny: This can happen if the butter or cream cheese was too warm, or if too much liquid was added. Try chilling the frosting or adding more powdered sugar.
- Cupcakes aren’t red enough: Use a good quality red food coloring and don’t be afraid to use the recommended amount. Gel food coloring often provides a more intense color.
The History and Lore of Red Velvet (A Delicious Tale)
The origins of Red Velvet cake and cupcakes are somewhat debated, but its popularity surged in the early to mid-20th century. Some trace its roots back to the Waldorf-Astoria Hotel in New York City, while others credit Southern American cuisine.
Regardless of its exact origin, Red Velvet has become an iconic American dessert, often associated with special occasions and celebrations. Its unique color and flavor profile have captivated taste buds for generations.
Red Velvet Cupcakes: Perfect for Any Occasion (Celebrate with Sweetness)
Whether you’re celebrating a birthday, Valentine’s Day, a holiday gathering, or simply craving a delicious treat, Red Velvet cupcakes are always a welcome addition. Their vibrant color and decadent flavor make them a crowd-pleaser for any event.
Conclusion: Your Red Velvet Baking Journey Begins Now!
There you have it – your ultimate guide to baking perfect Red Velvet cupcakes! We’ve covered everything from the ingredients and step-by-step instructions to helpful tips and variations.
Now, it’s your turn to get baking! Don’t be intimidated – this recipe is easier than you might think, and the reward of biting into a homemade Red Velvet cupcake is truly worth the effort. So, gather your ingredients, follow our guide, and prepare to indulge in a little bit of crimson velvet heaven. Happy baking!